This recipe was sent by
Lorence, I shamefully stole all his pictures. You can see the original on this
link. Also he's got lots of recipes on his website, be sure not to miss it!

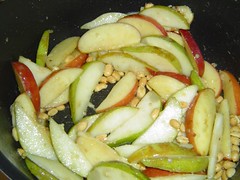
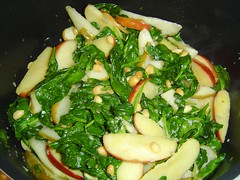
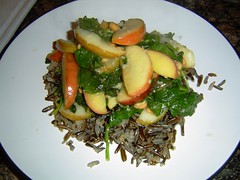
This is another of our cool weather favourites. The textures, aromas and tastes in this dish all combine to create a refreshing melange that's warming and incredibly flavourful. And it was a great way to use kale, which around here, is usually inexpensive and plentiful. I saw this recipe in Redbook Magazine's February 2000 issue. I didn't really notice the recipe at first & it wasn't really the kind of recipe I would normally have paid much attention to, but the photo...Oh the photo looked delicious. I saw that picture and I wanted a bowl of whatever it was! A few weeks later, I made the recipe and we've been hooked since. I wish I still had the original magazine so I could post that photo, but all I have left is a photocopy. I'll try to take a shot next time I make it (probably in a couple of weeks).
The remarkable thing with this recipe is that I don't change a thing (Well, ok, sometimes I use a bit more smoked sausage...). The recipe calls for 3 cloves of garlic. Finally! Why, oh, why would a recipe call for only 1 clove of garlic?!? What good is that?
I love garlic, so I use a lot of it, and this recipe calls it right - 3 cloves. 3 LARGE cloves. Yum.
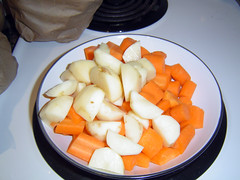
Creamy White Bean Soup with Kale, Garlic and SausageIngredients;
8 ounces of Kielbasa, thinly sliced
1 Tablespoon of olive oil
3 cloves of garlic, minced
2 19 ounce cans of Cannelini beans, rinsed & drained
(great northern work, too, if that's all you can find)
2 14.5 ounce cans of chicken broth
4 cups of chopped kale

Directions:
1. Brown the sausage in a large saucepan over medium-high heat. I brown it until the bottom of the pan starts to turn brown with the cooked fat.

2. Remove the sausage from the pan to a bowl.
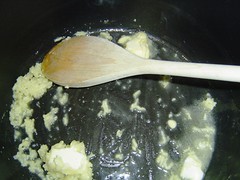
3. Add the oil to the pan and add the garlic. Cook the garlic for about 30 seconds. Don't let it brown! (it will turn bitter if it browns!)

4. Add some broth to the pan to deglaze it, scraping up as much of the browned bottom of the pan as possible, adding more broth as needed. Then add the rest of the broth.

5. Bring the broth to a boil.
6. Add the beans & reduce the heat to bring the beans and broth to a simmer.


7. Simmer for about 5 minutes.
8. Remove 1 cup of soup, including some beans, to a blender and puree the mixture until smooth.


9. Stir the puree back into the soup.

10. Add the sausage back into the soup.
11. Add the kale to the soup and simmer util the kale is just tender, then serve.

This makes 6 1/2 cups, and goes great with a nice crusty bread.
Enjoy,
Lorence
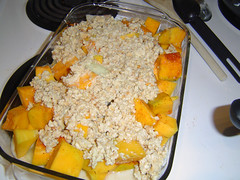
 This is one of the most delicious soups I ever made.
 Then I added two cups of vegetable bouillon, salt and pepper, one teaspoon curry powder and half a cup of chopped fresh ginger. I let it boil for about 30 minutes and then I pureed it in the blender. It was so delicious.